Another testing using BlogTouch

係App 里面影 👇🏻
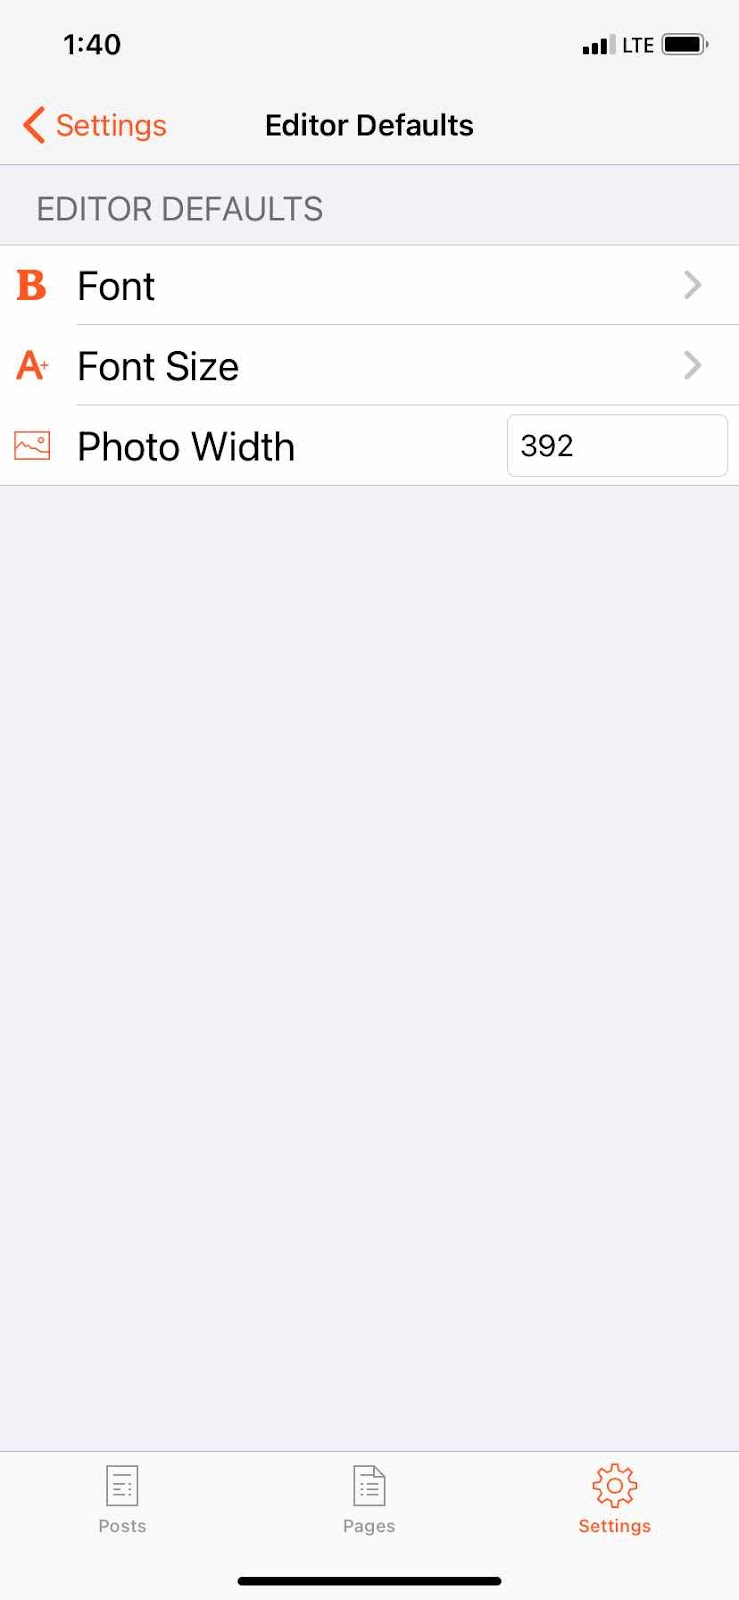
Current setting

1. Backup link station data to USB drive.
2. Replace hard disk into linkstation pro.
3. Direct connect linkstation to PC with network cable. Do NOT power on linkstation yet.
4. Set PC network IP to 192.168.11.1 Then turn off firewall on PC.
5. Power on linkstation. Run TFTP Boot on PC at the same time. Ensure TFTP Boot show 'listening at 192.168.11.1'. If not, close TFTP Boot and run again.
6. Linkstation will beep and beep.
7. If success in going into EM mode, linkstation will stop beeping. Boot firmware will to restore to Linkstation. IP of Linkstation will be changed to 192.168.11.150.
8. Then run LSUpdater. Click top left corner 'Debug' mode. Click all option. Start.
9. When finish, the linkstation is ok with new Harddisk. 'admin' default 'password'.